DIY – Large Bulletin Board
Before we dive into today’s DIY, this is just a friendly reminder that the Patron’s Party is less than a week away! If you haven’t purchased your ticket go do that now. Also, the house tour is right around the corner too. If you don’t already follow us on Facebook, Instagram or Twitter, there’s still time to follow along and win a pair of tickets.
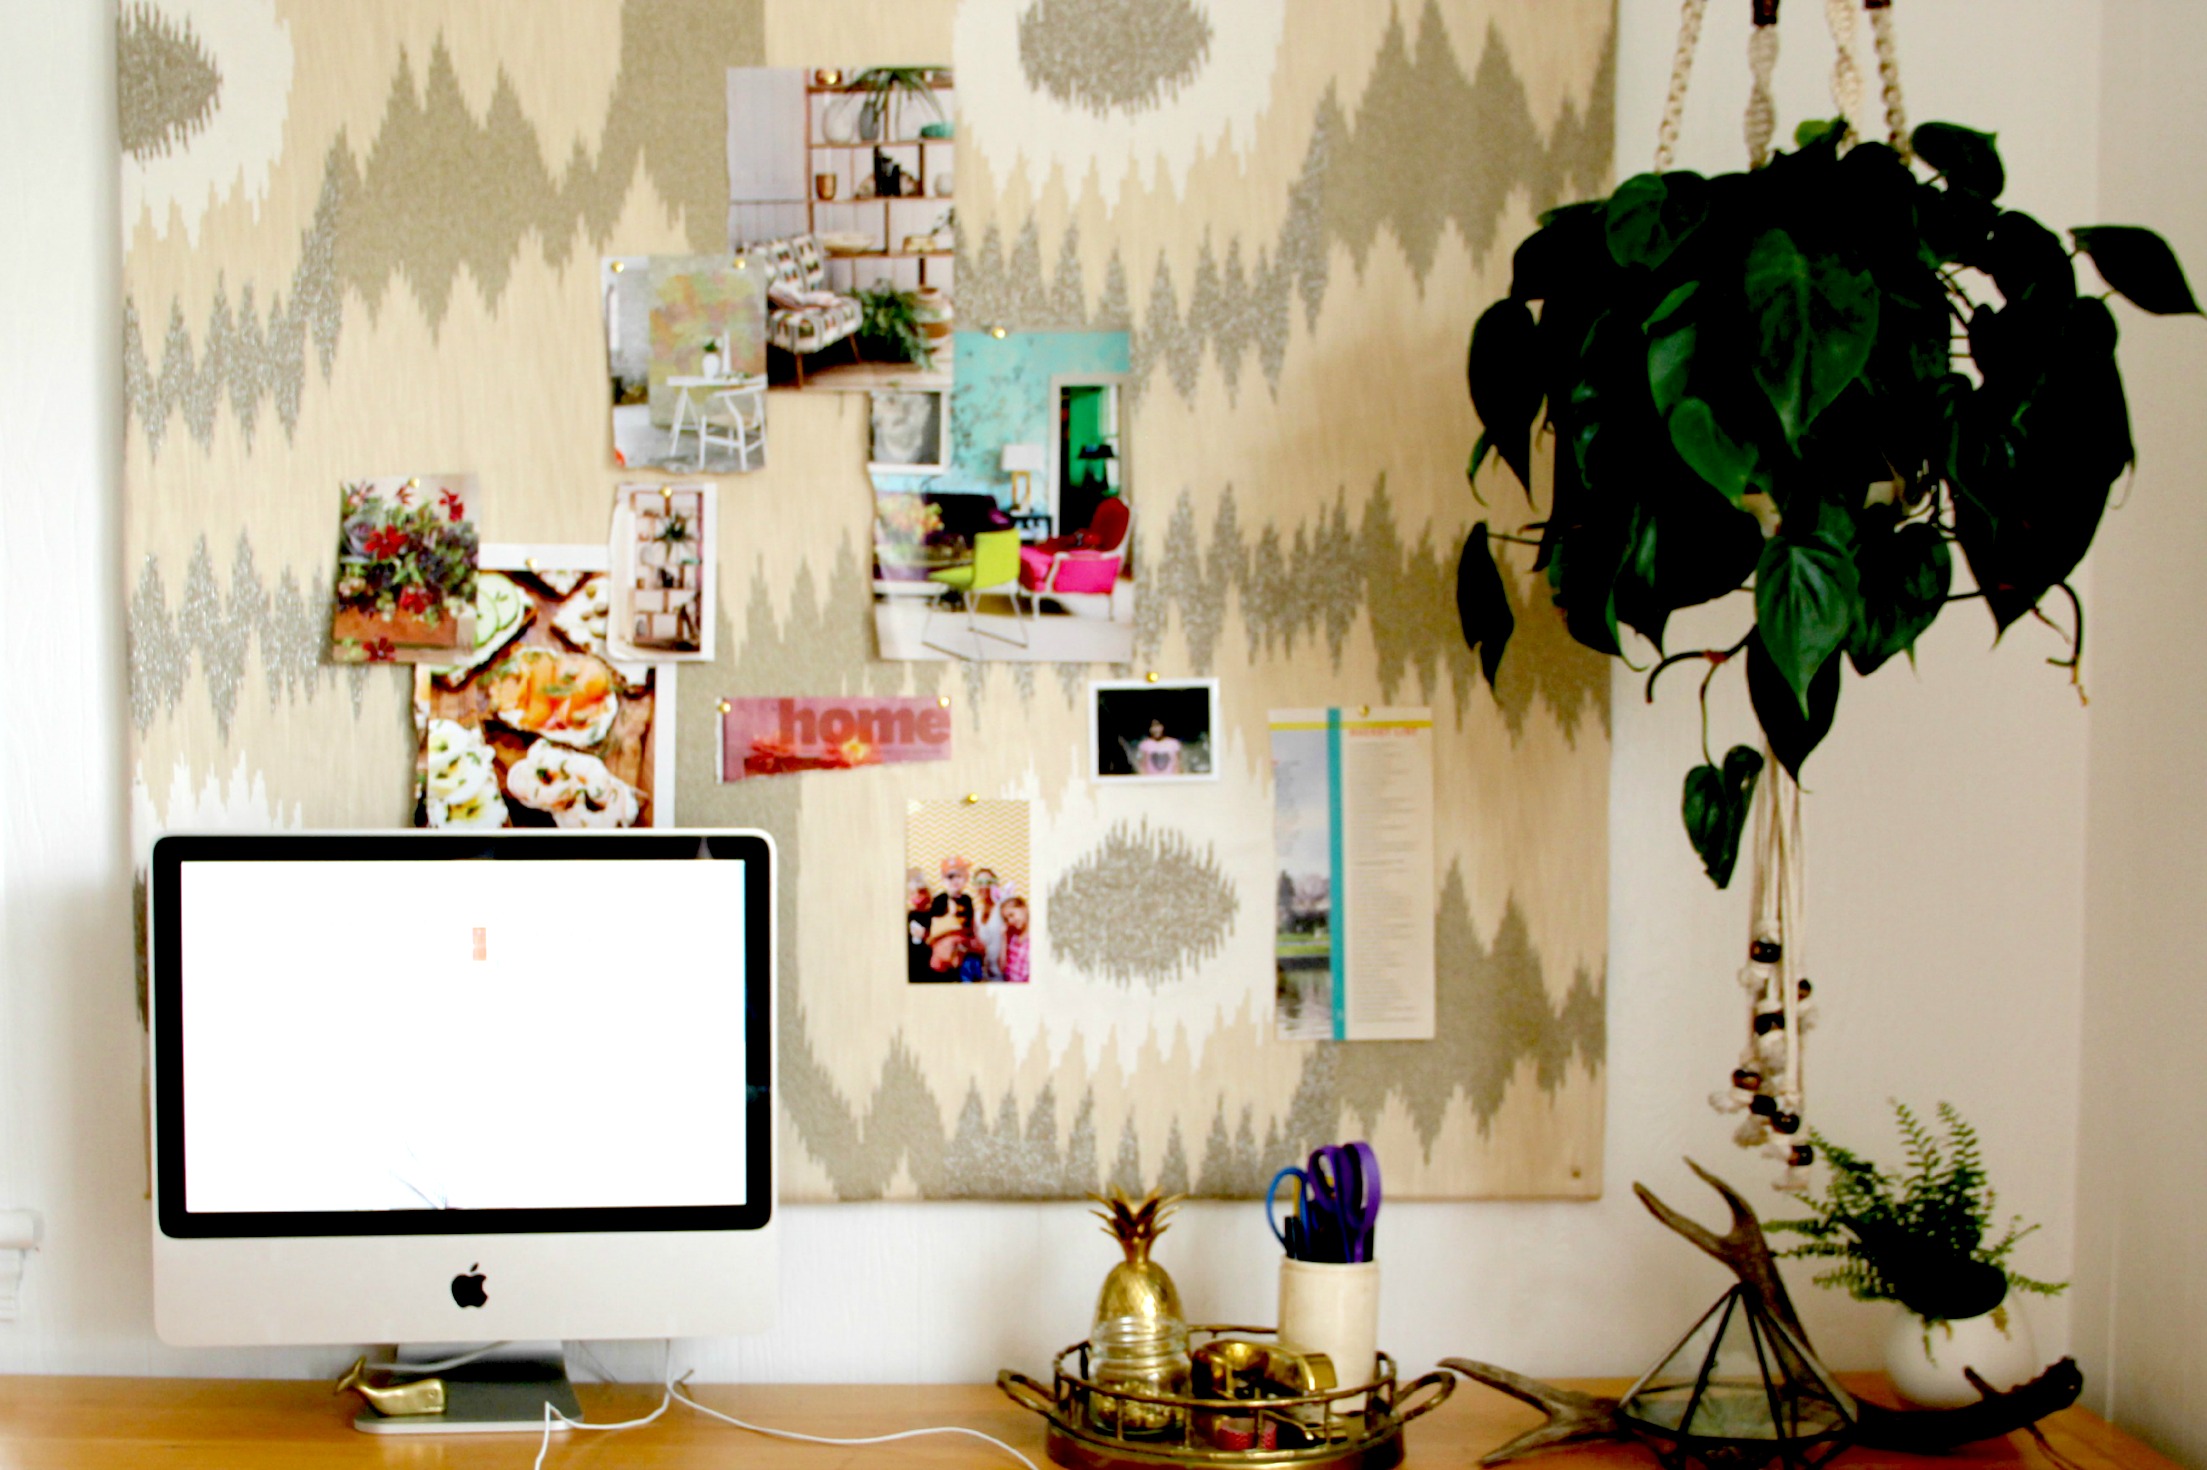
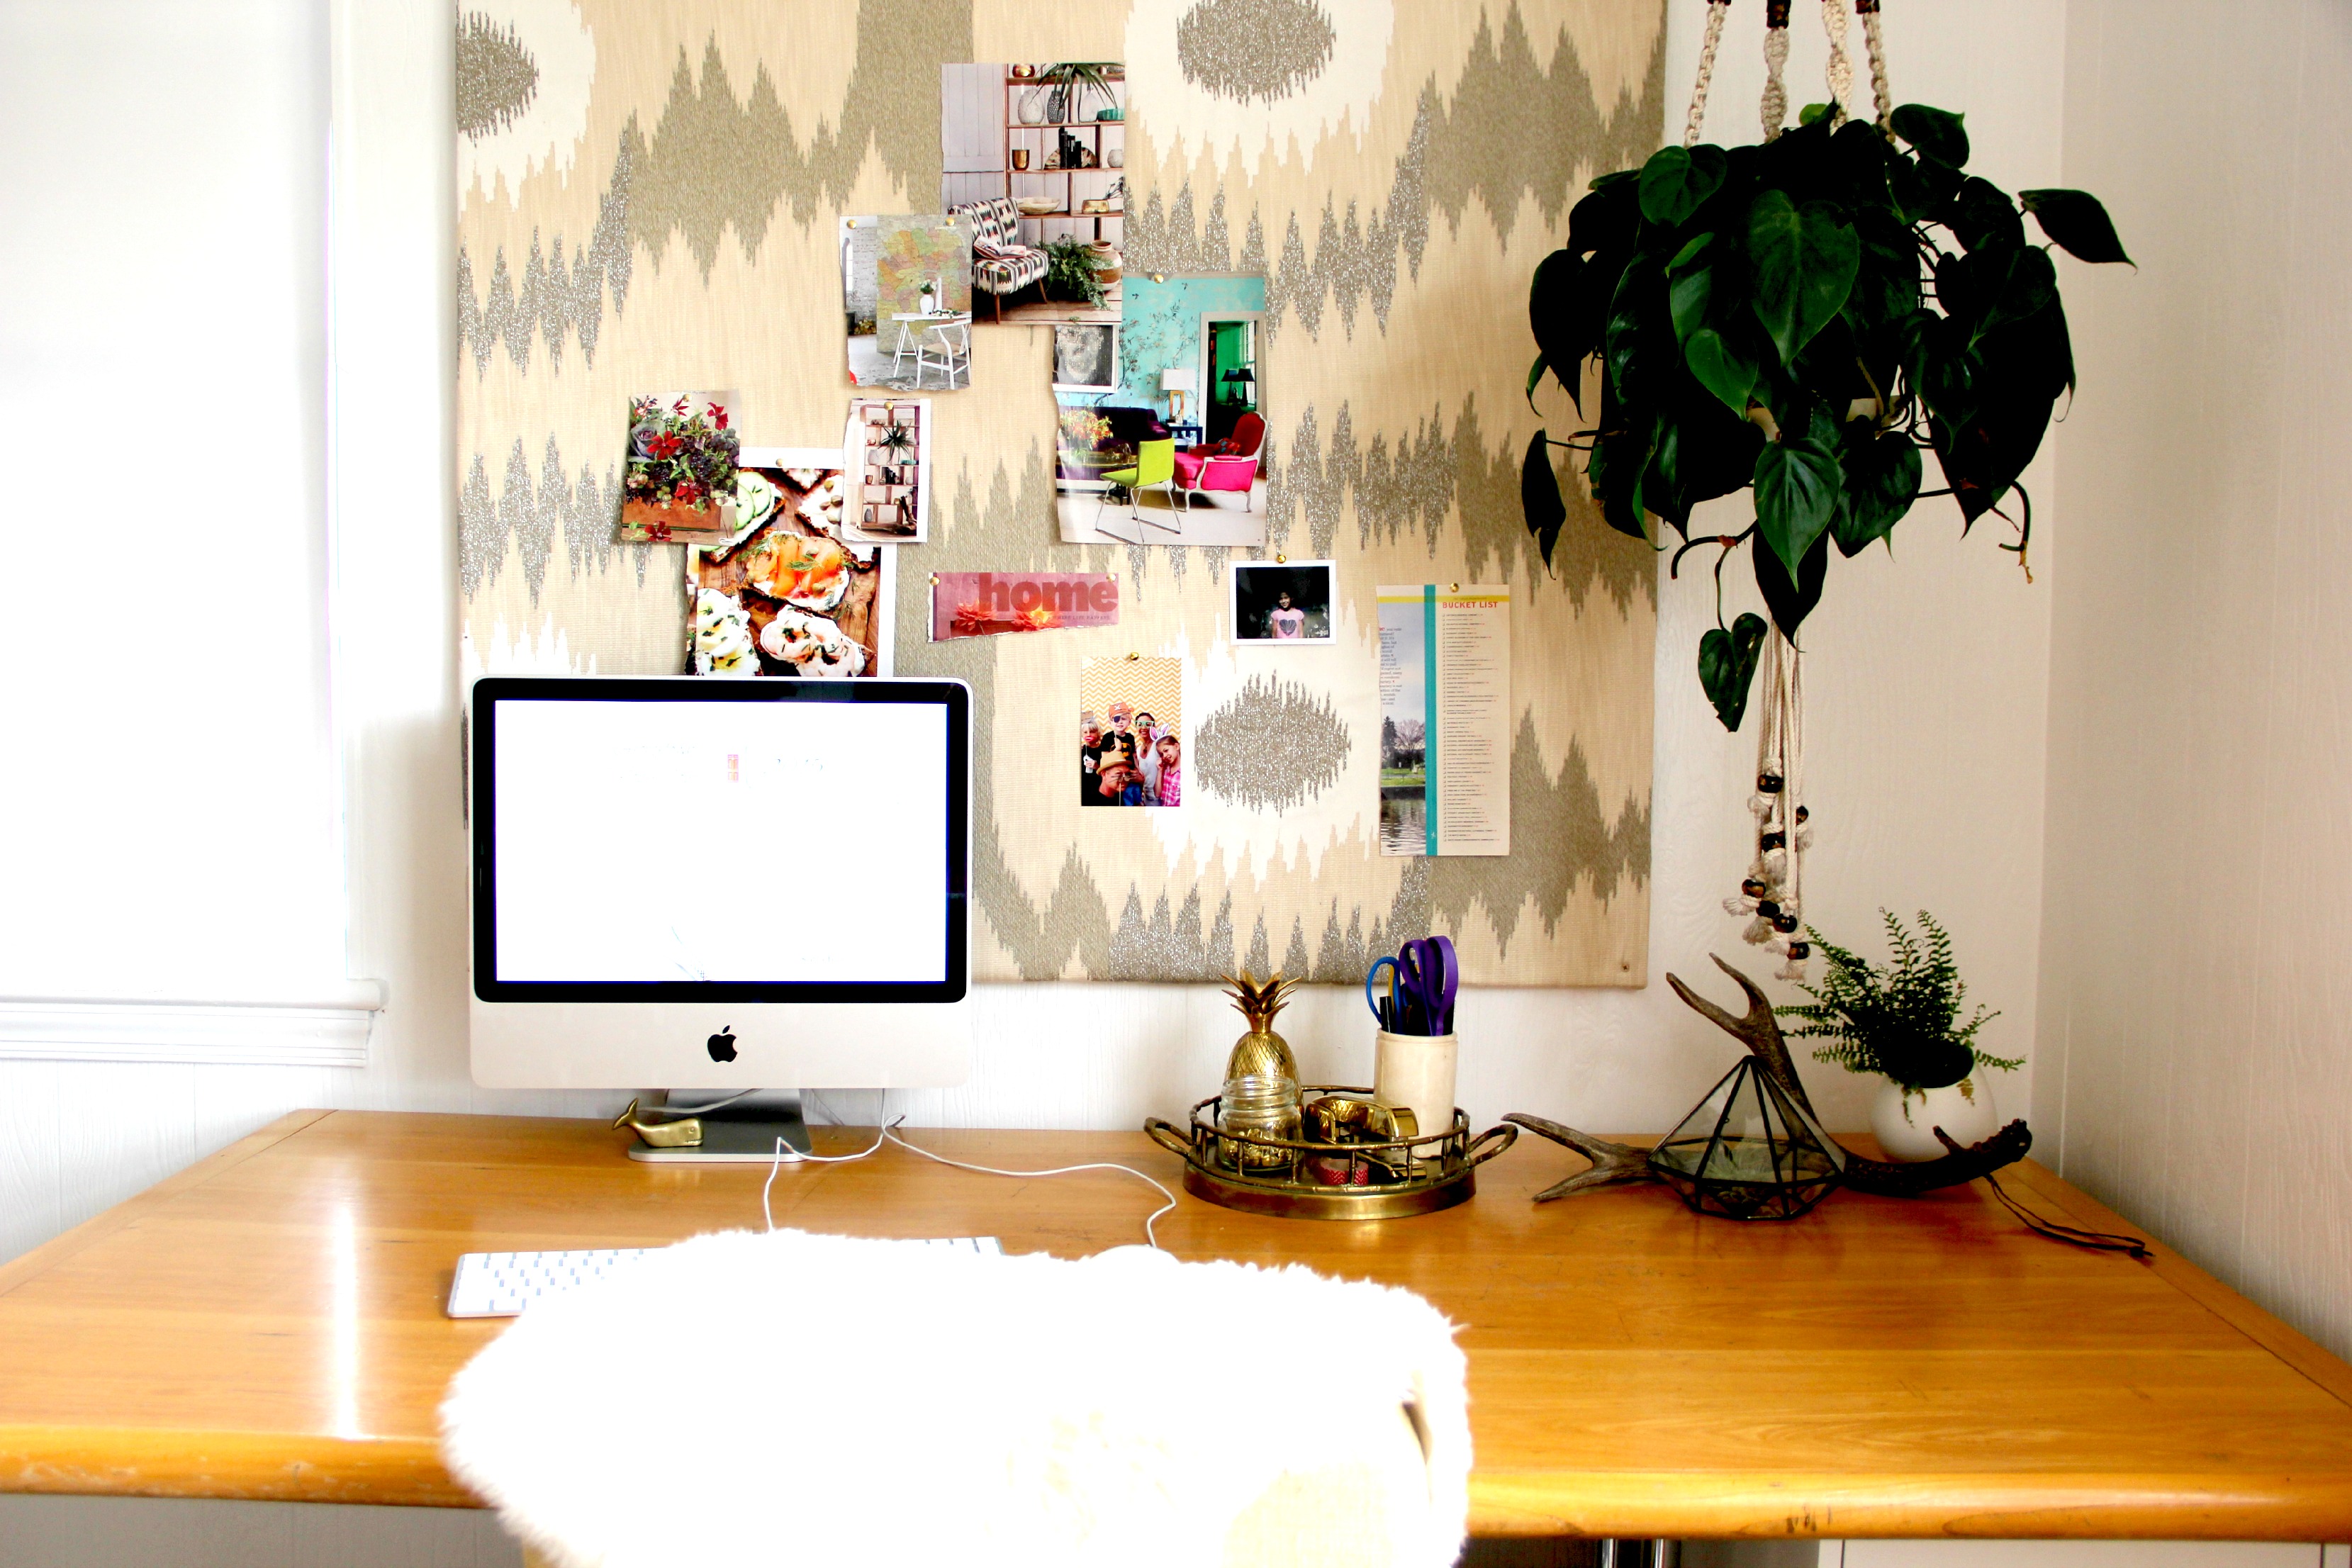
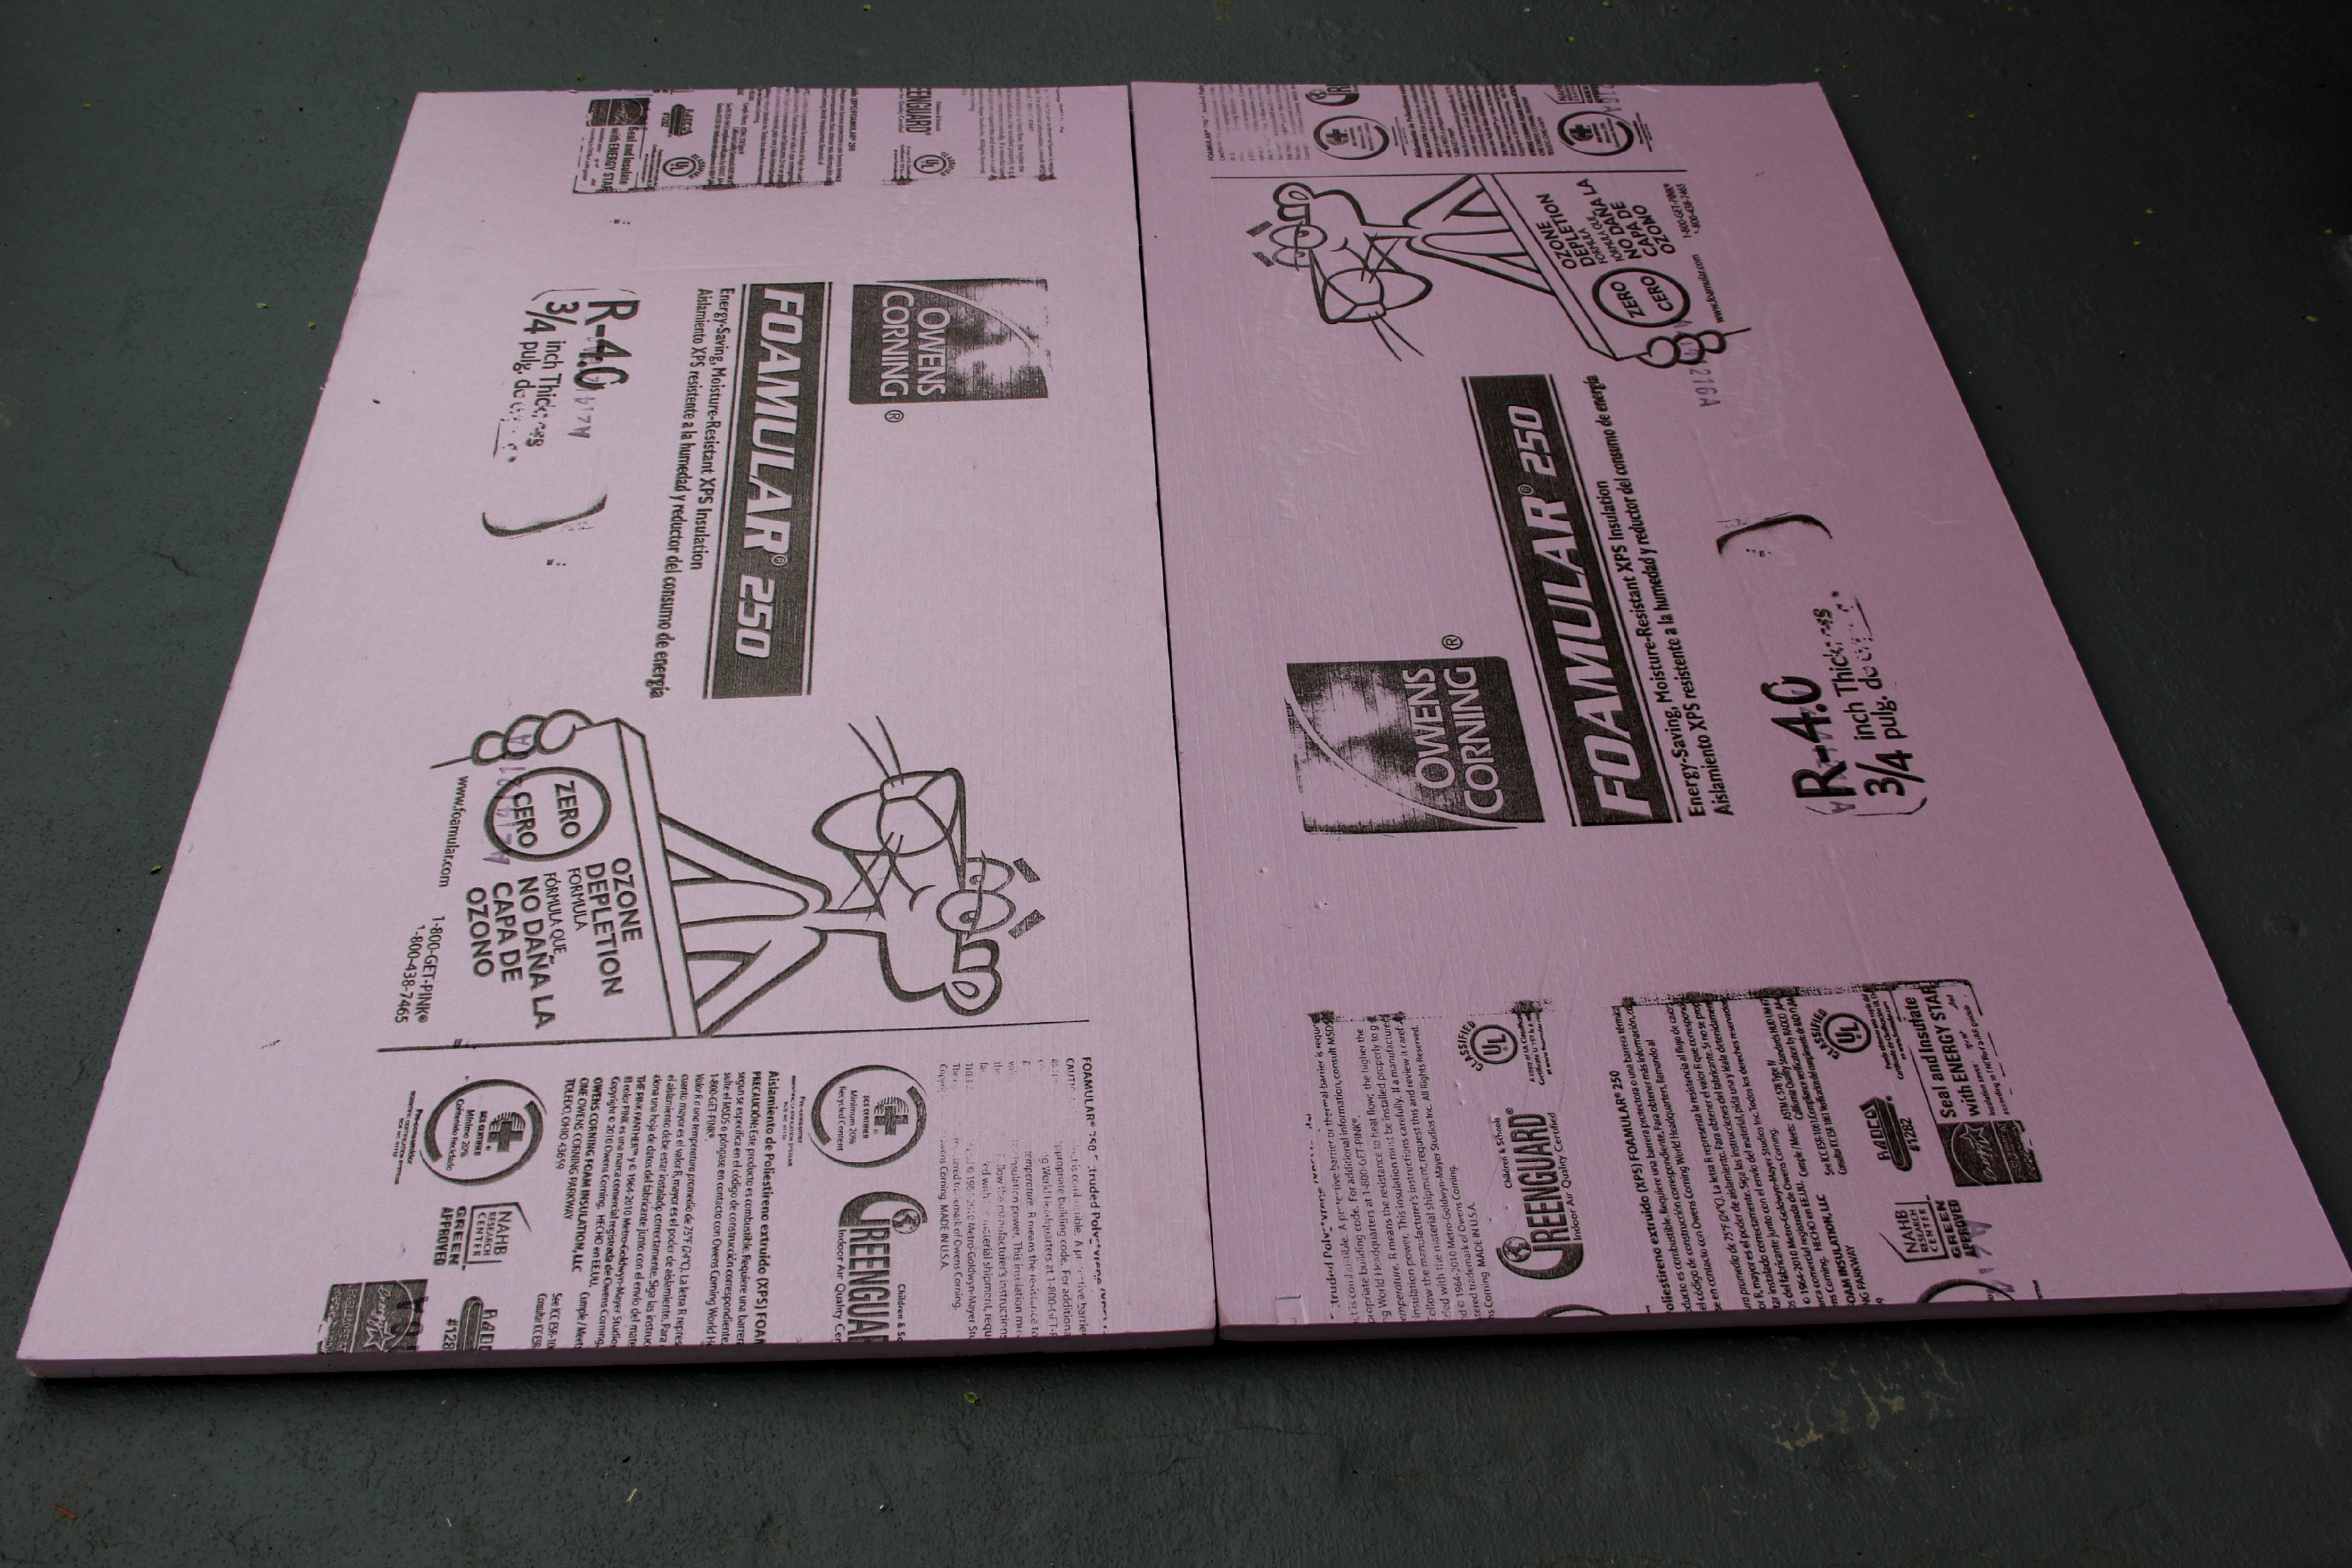
Back to our project . . . one thing that was missing from our office, was a large inspiration bulletin board. I love Pinterest, but sometimes it’s nice to pin up a real picture too. I had been looking around for awhile and wasn’t loving the typical cork boards, and large ones can be rather pricey. While at our local Home Depot, I stumbled upon this Foamular insulation board. It’s 2′ x 8′, and it’s under $10, the perfect base for my 4′ x 4′ board.
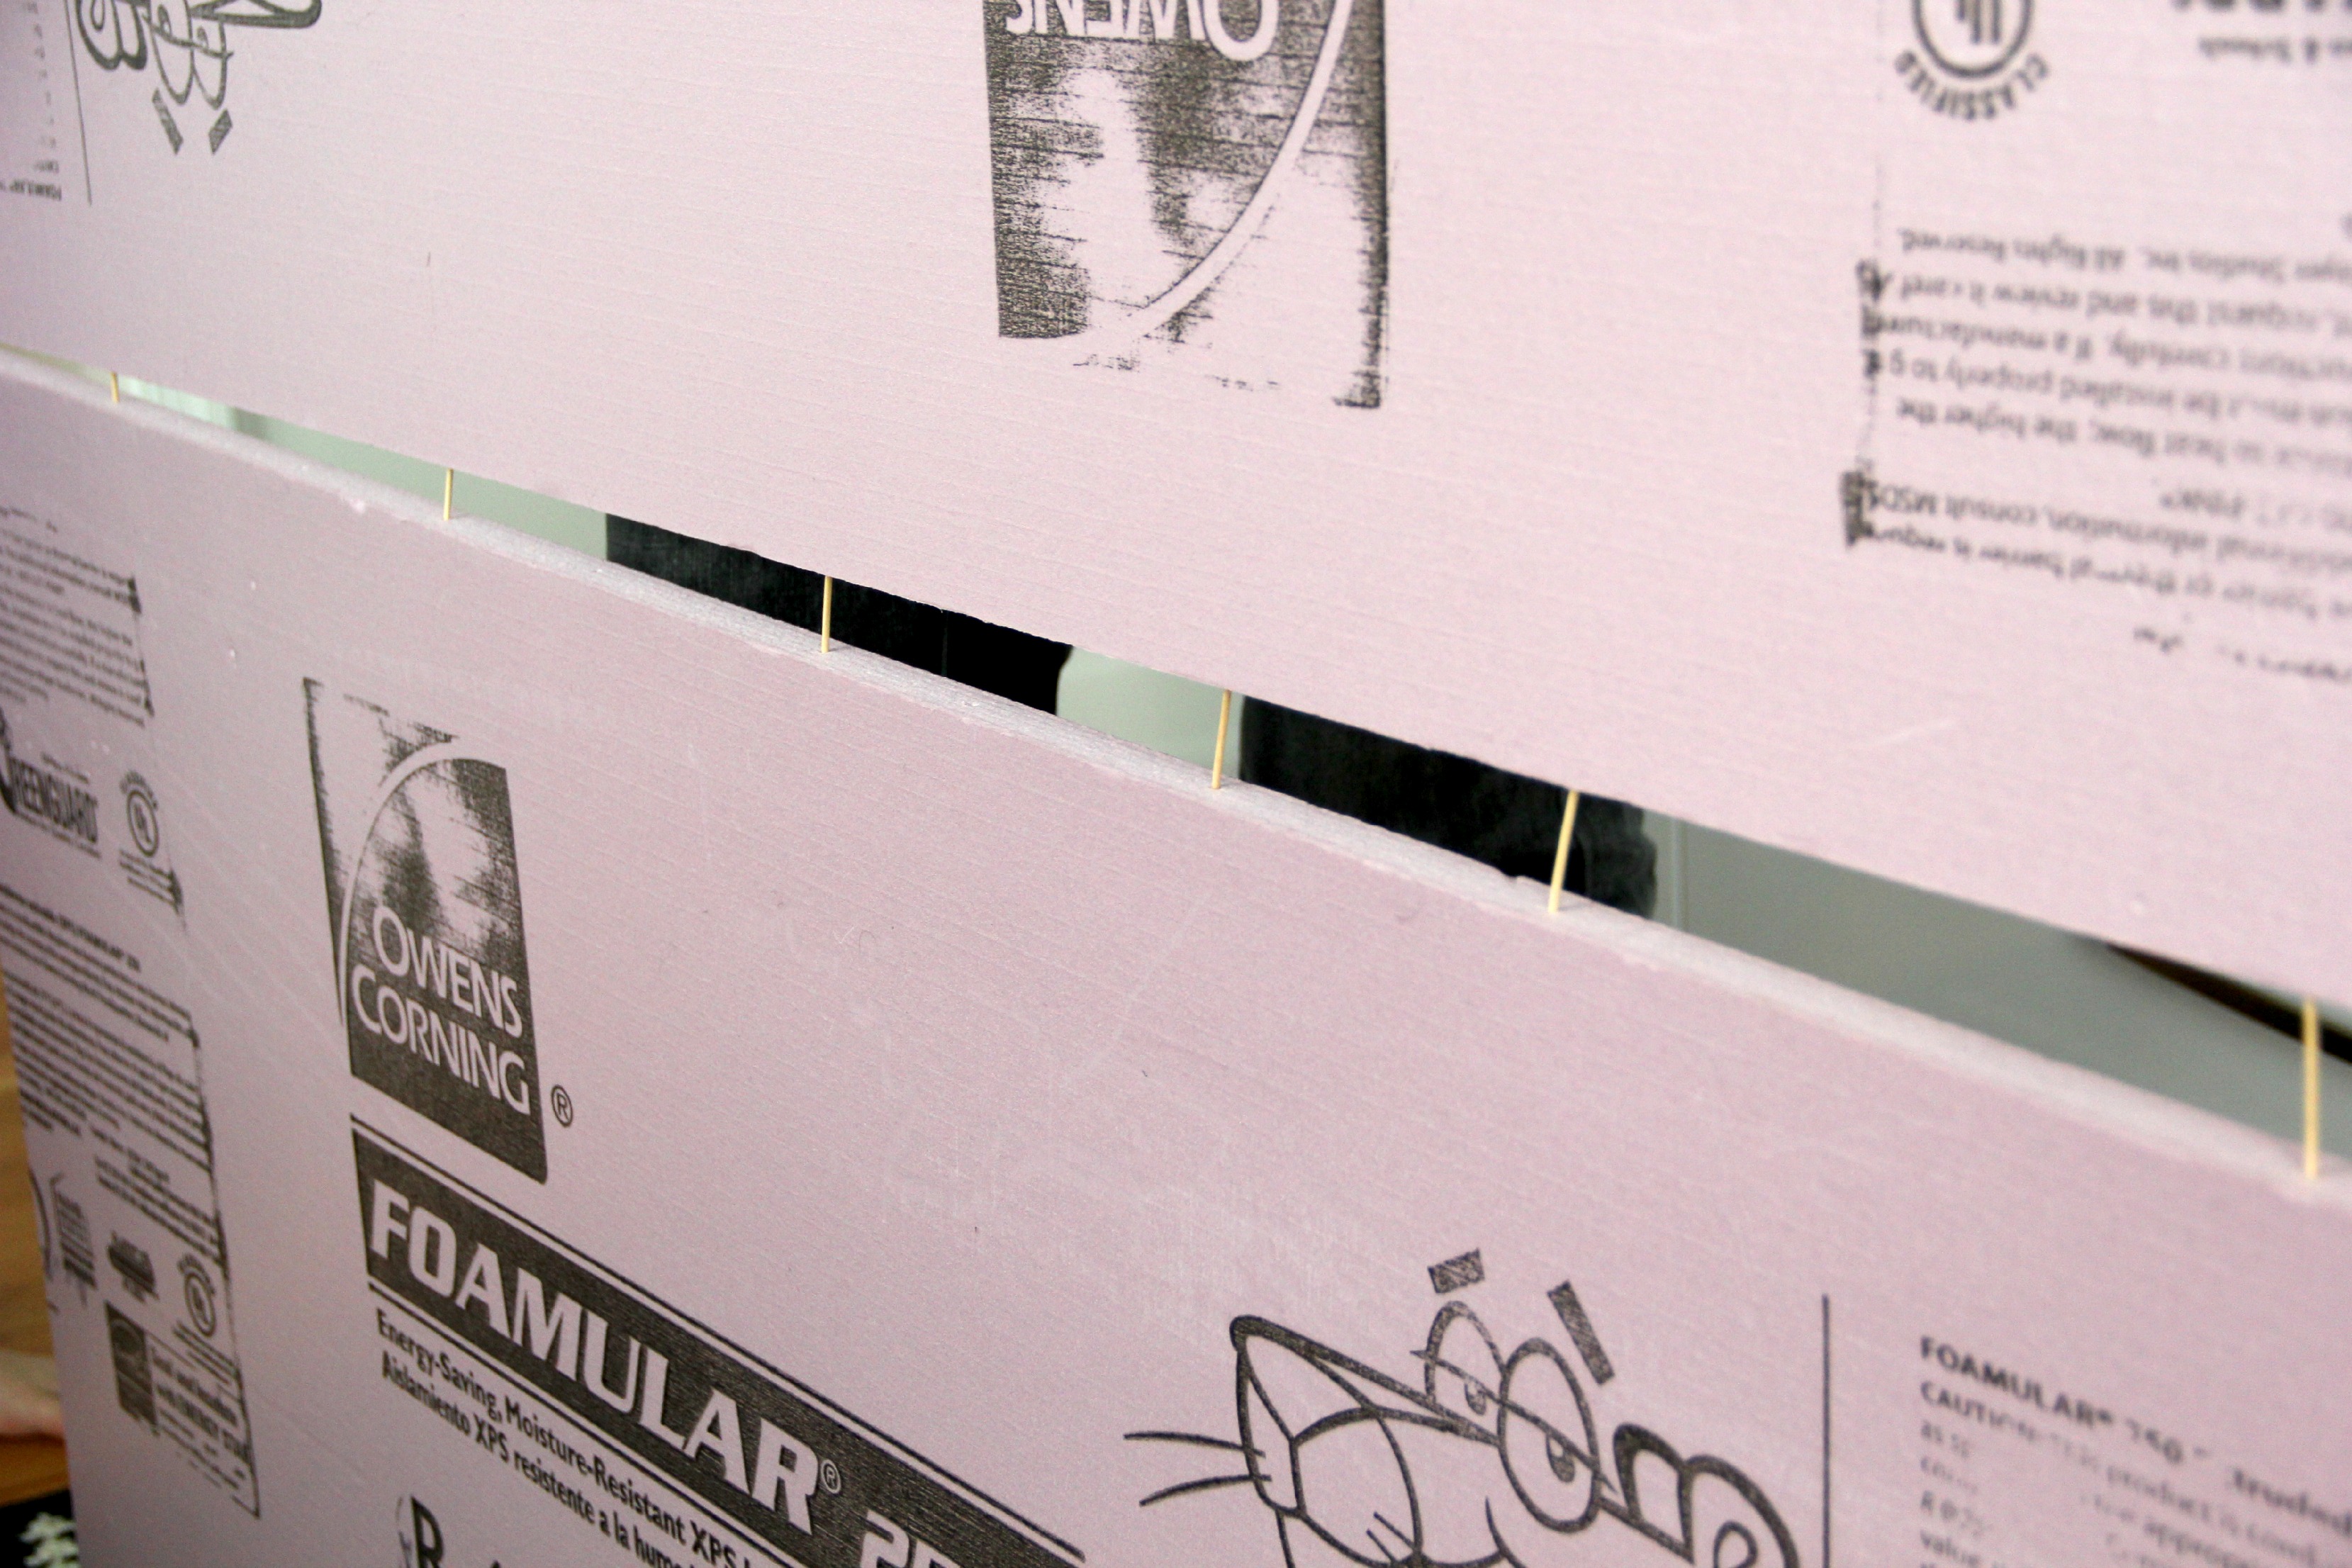
 To get started you will need 1 sheet of 3/4″ Foamular insulation board, a sharp knife, a piece of fabric that is approx. 52″ x 52″, spray adhesive, some toothpicks, glue and some tacks. Cut your insulation board in half. I measured carefully, and used a sharp kitchen knife to slowly cut through it. My recommendation is to make several passes with your knife, don’t try to cut through the entire board in one shot. My edges weren’t perfect, but you won’t see them after you’re done.
Next, you will need an extra set of hands to line up the two pieces, and connect them with toothpicks. I didn’t do this, but I’d recommend that you use a bead of glue for extra support. This will ensure that you have a tight seam.
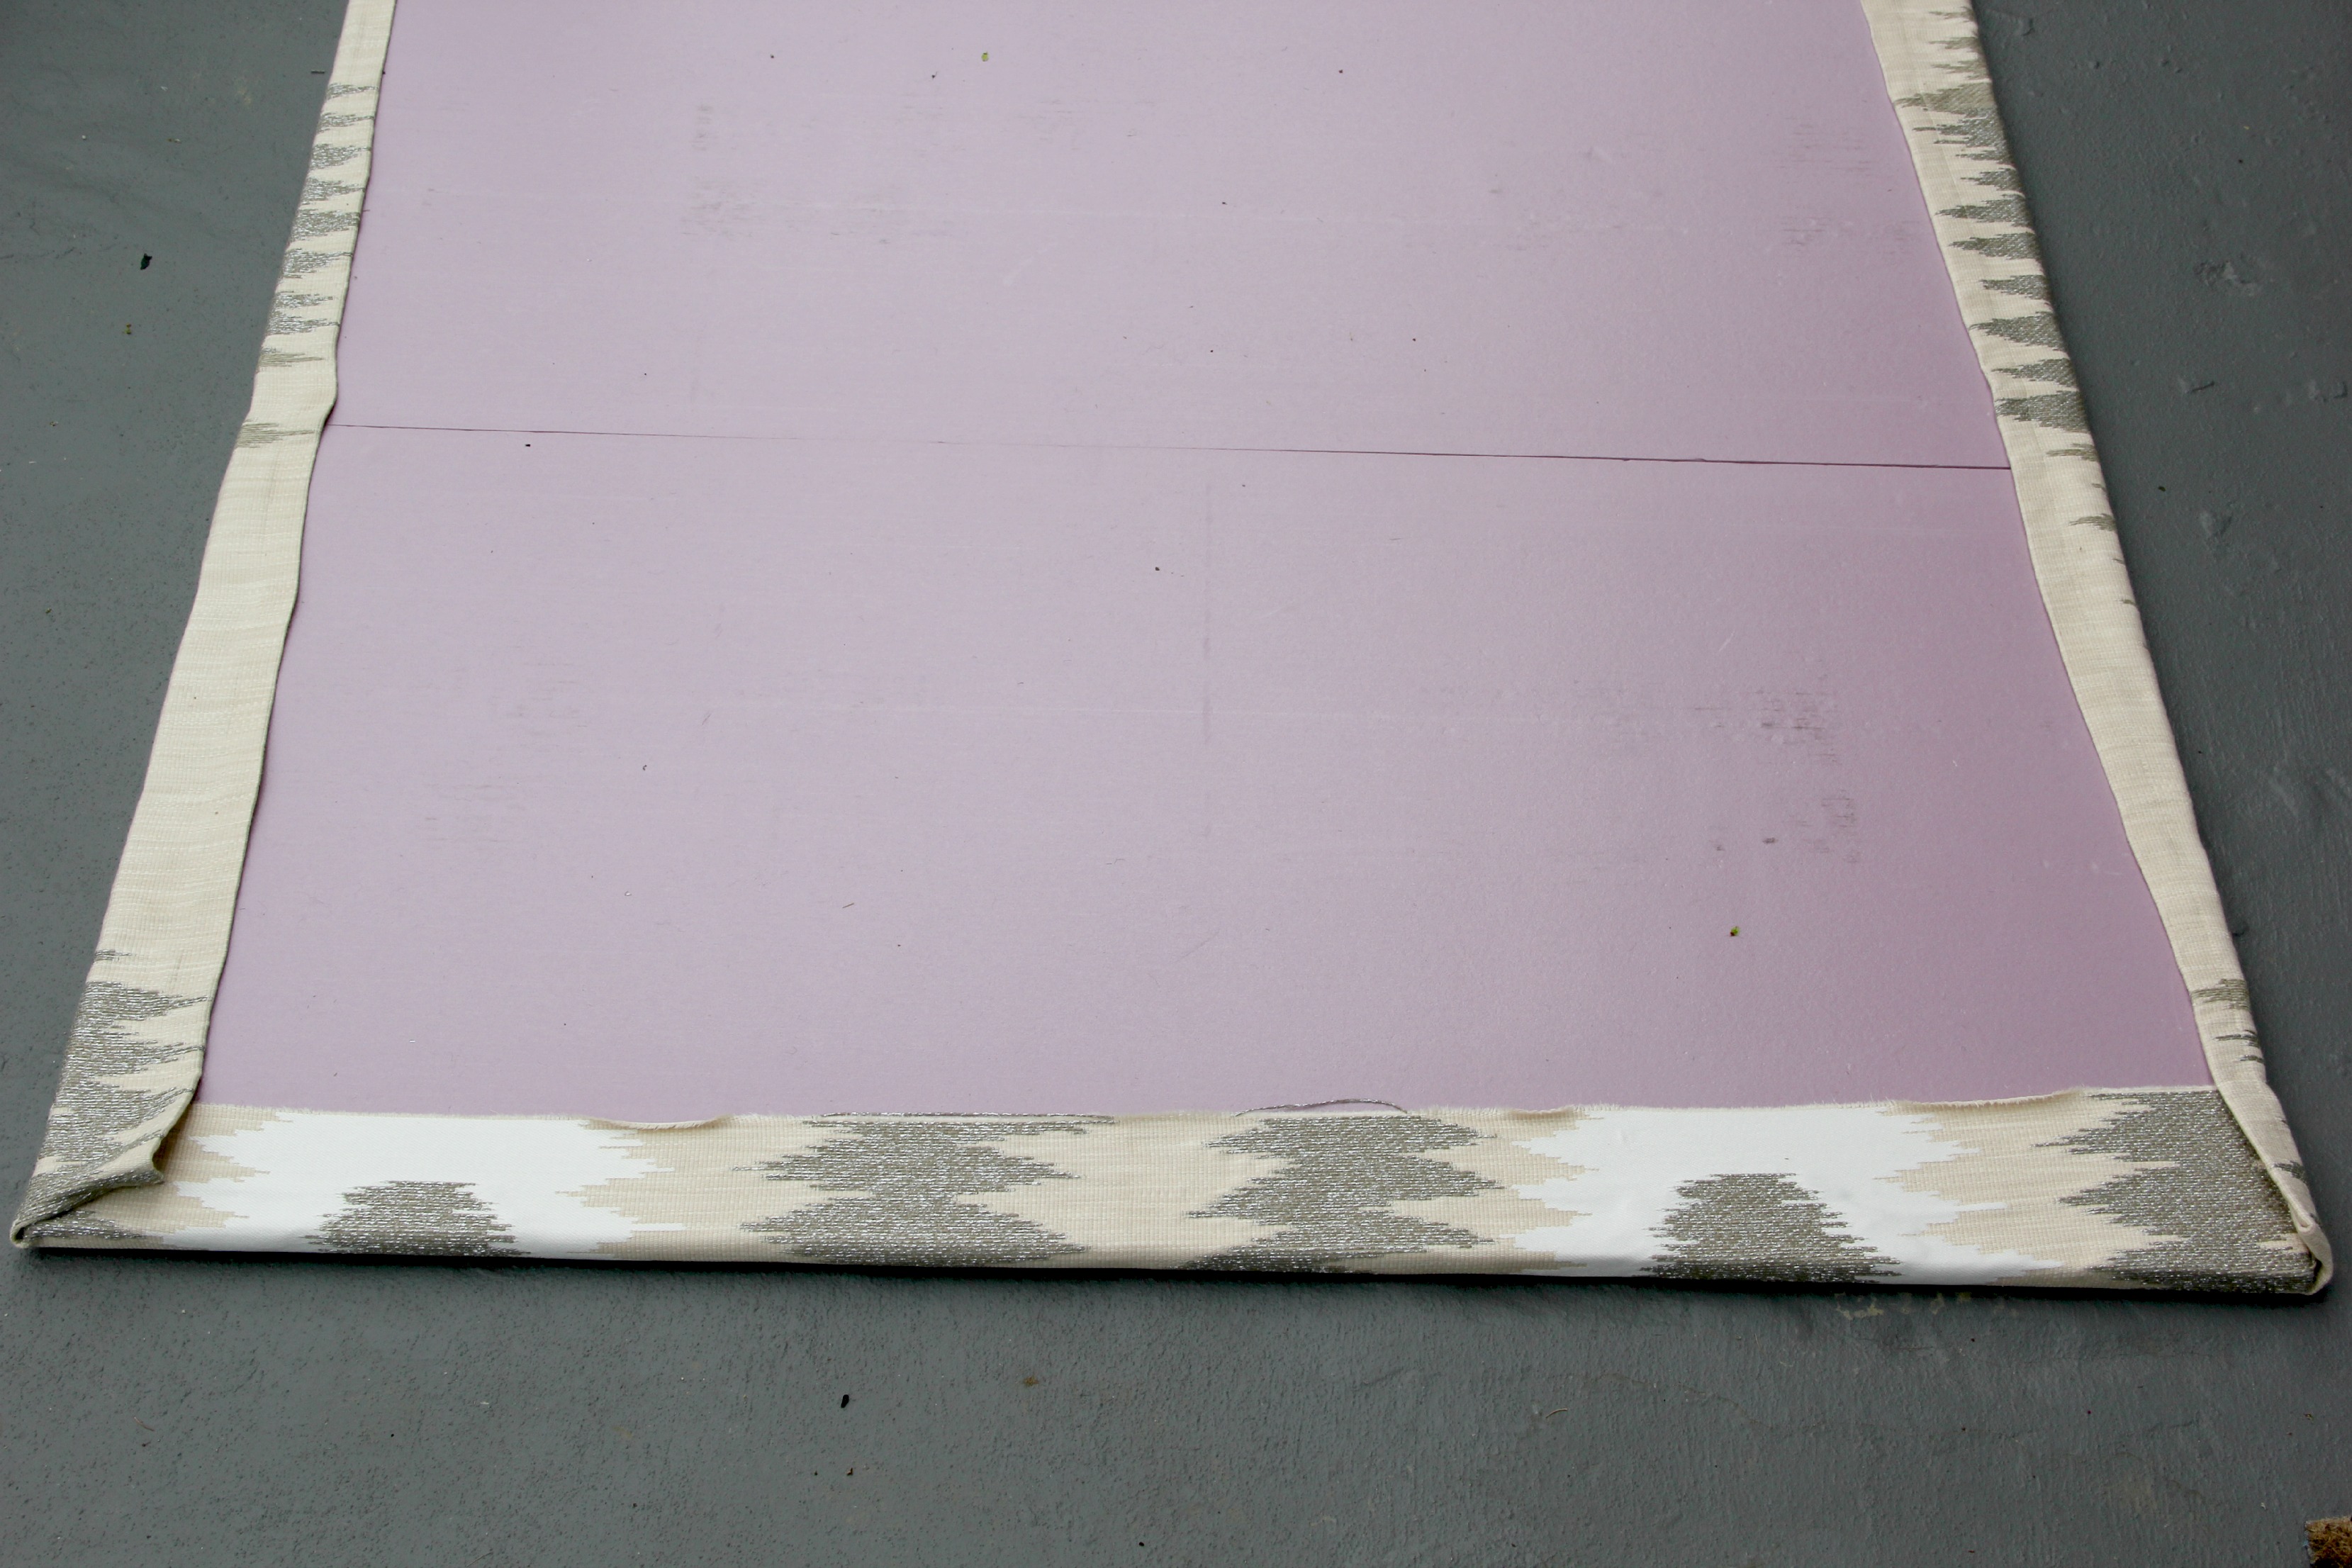
 Cut your fabric to fit your board with at least 2″ of overlap to wrap around the back. I used a vintage curtain panel. I love it, and yes, the 1980’s called to say they were missing some curtains. Spray your board generously (preferably outside) with your spray adhesive. Lay your fabric out and use your hand to press out any air bubbles. You can lift and re-position as needed.
 Flip your board. Spray your edges and back perimeter with spray adhesive, and pull your fabric tautly in place.
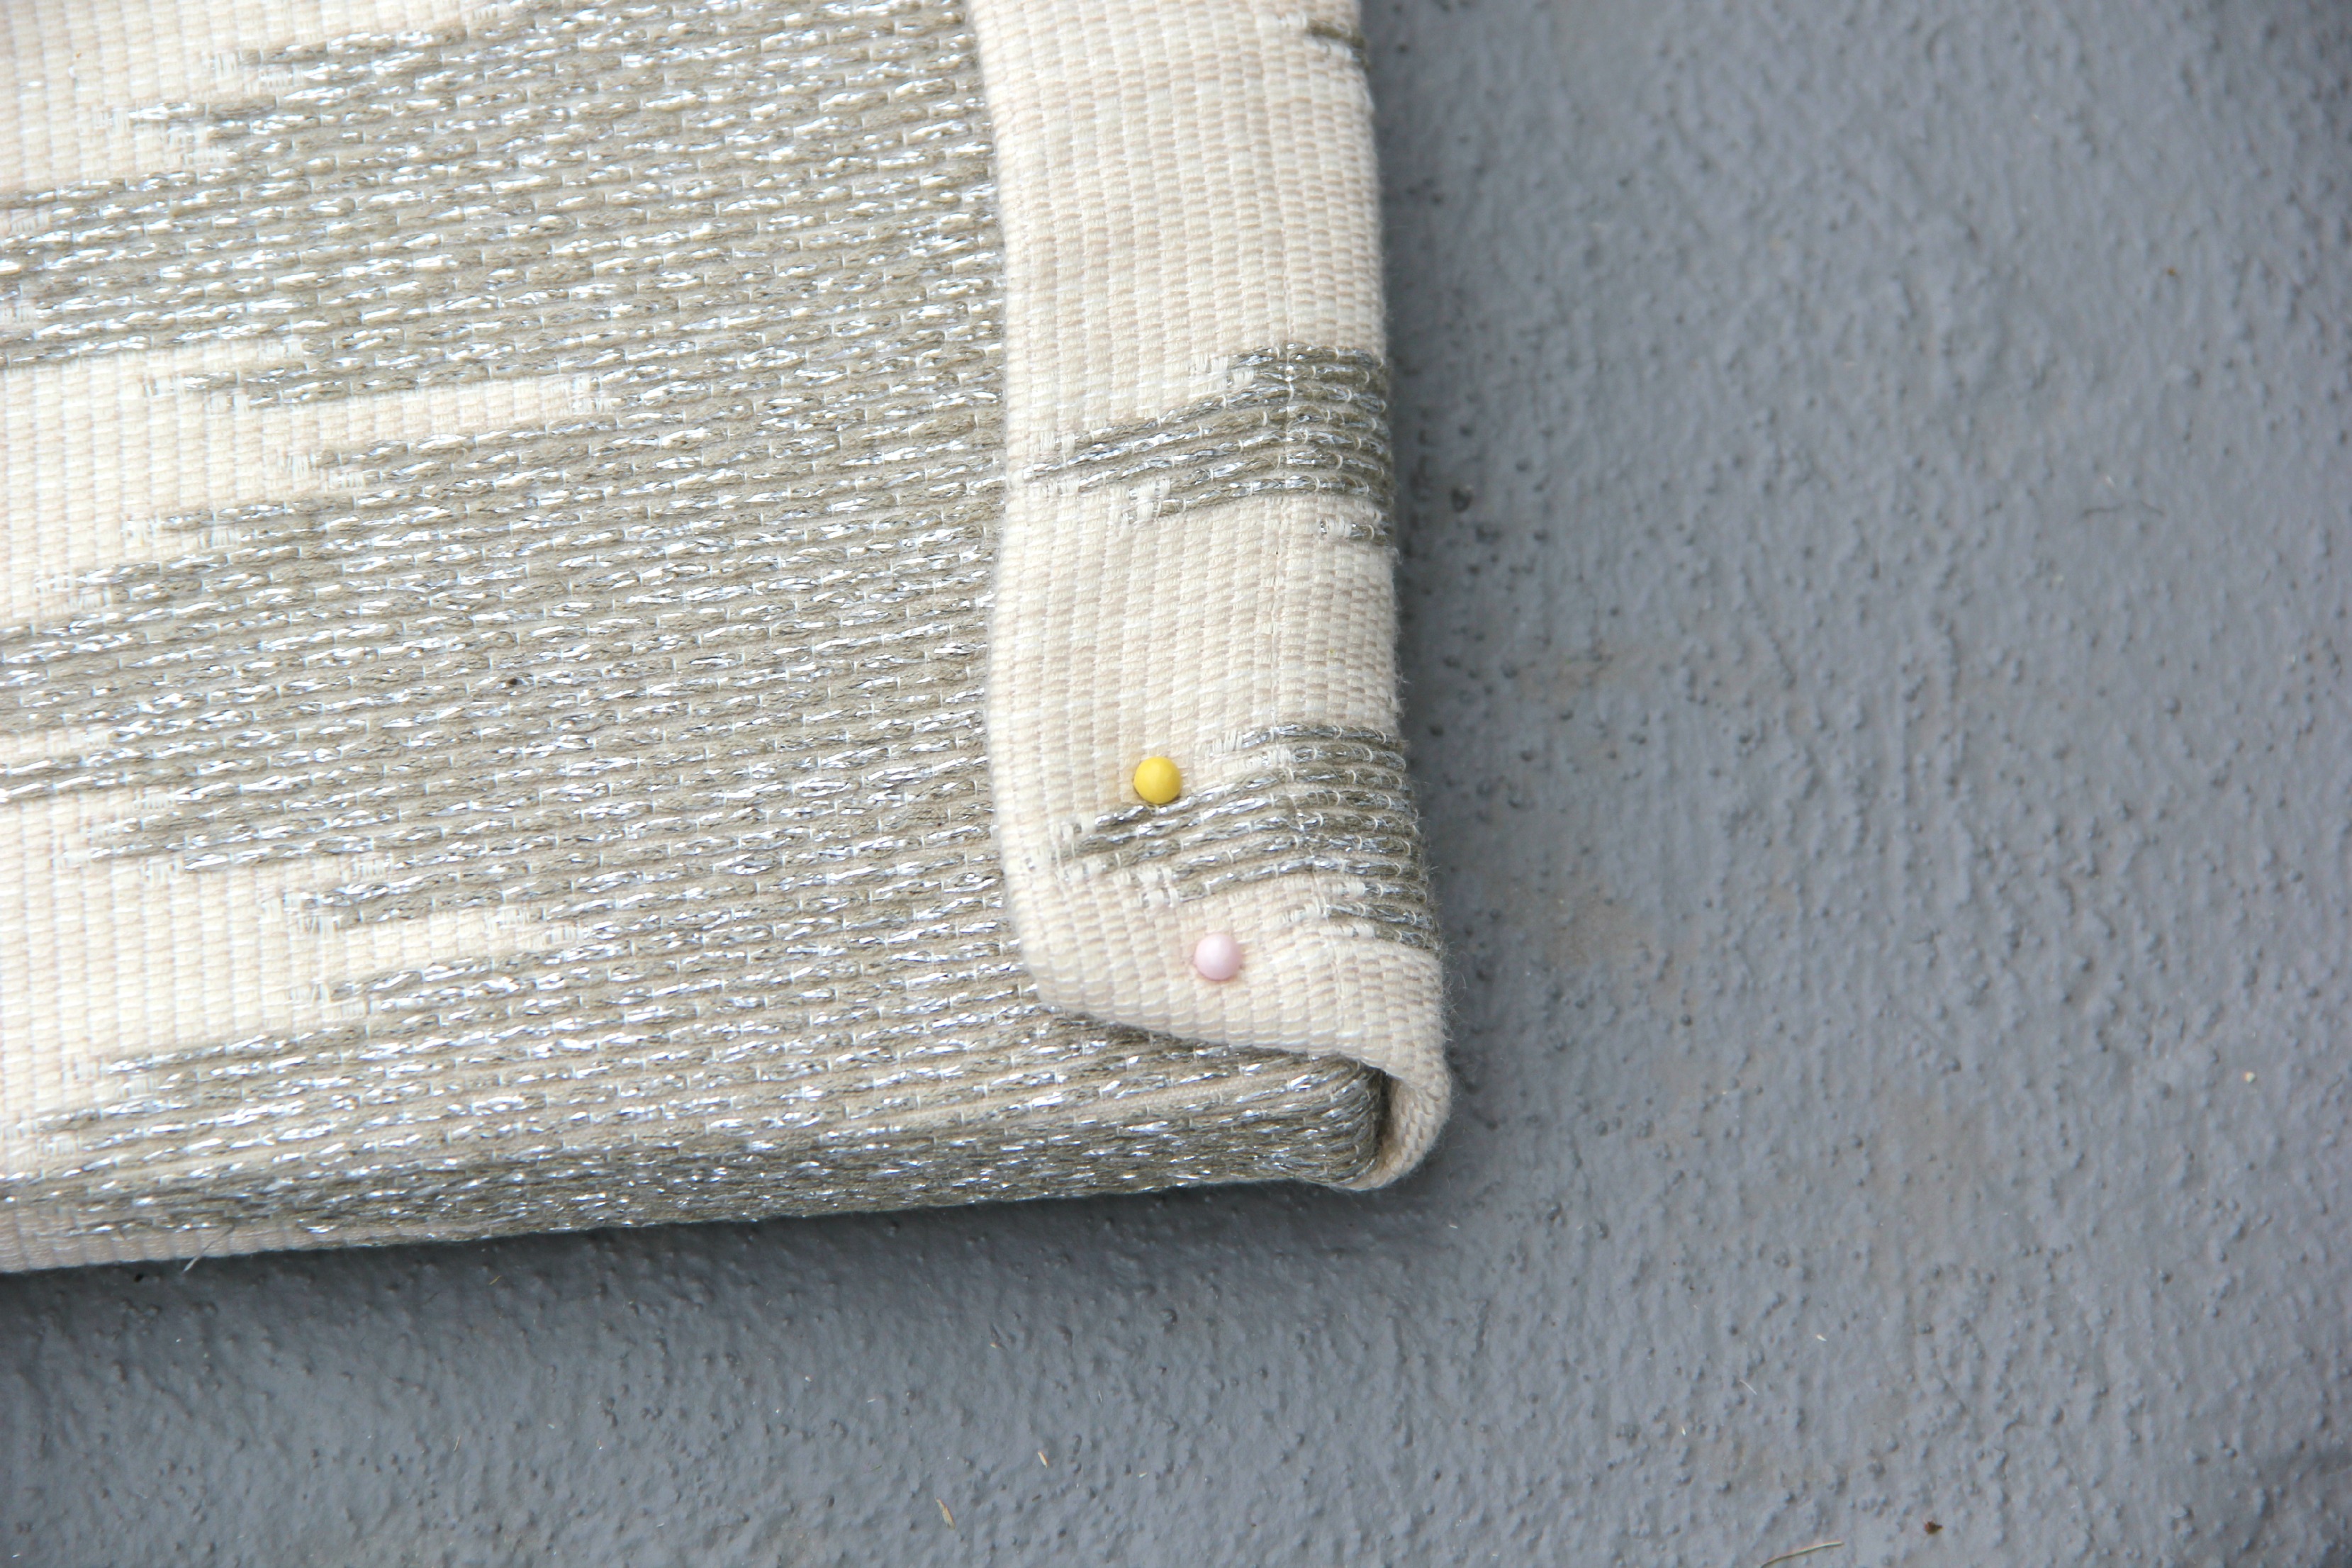
 Because my fabric was so bulky, I used a few straight pins to secure the corners.
 Hang and start pinning! I mounted mine with four brass screws, but you could also use Command Picture Hanging Strips.